Get Started
OpenClaw Trading Agent: Getting OpenClaw Set Up With the Public Agent Skill
Learn how to get started with the official Public Agent Skill for OpenClaw. We'll go through setup and connecting your Public brokerage account.
What You'll Do
Setup OpenClaw
Add the Public Agent Skill to OpenClaw
Configure your Public API keys in OpenClaw
Retrieve portfolio data and place trades
What is OpenClaw
OpenClaw is an open-source personal AI assistant that you self-host on your own machine or in the cloud. It can stay active around the clock and connects to your existing messaging platforms such as WhatsApp, Telegram, Discord, and more so you can interact with it.
With the help of the official Public Agent Skill, OpenClaw can interact directly with your Public account to pull live portfolio data, monitor positions, and execute orders based on conditions you define. This makes it well suited for both active traders who want to automate routine tasks and long-term investors who want continuous monitoring and execution without manual intervention.
By connecting OpenClaw to your Public.com brokerage via the Public Agent Skill, you close the loop between research and execution. OpenClaw can pull live account and portfolio data, monitor positions against price thresholds, and execute trades automatically when your defined conditions are met, all within a single integrated workflow.
Before You Get Started
- →OpenClaw supports any compatible AI model, so an Anthropic API key is not required. For this guide we're using Claude, so you'll need an Anthropic API key from platform.claude.com. Note that this is separate from a Claude.ai subscription — the API key is billed based on usage and managed through Anthropic's developer platform.
- →You will need a Public.com brokerage account. Create one at public.com/signup.
- →Once you create your Public brokerage account, you'll need a Public API key. Generate one by creating a new key and saving it.
OpenClaw Install and Setup
The OpenClaw setup requires running a few commands in your terminal.
The commands in this section are for macOS and Linux. If you're on Windows, refer to the OpenClaw documentation for Windows-specific setup instructions. You will need to use your keyboard to navigate in the terminal and select options.
To install OpenClaw, run the following command in your terminal. You can find more details on the OpenClaw website.
curl -fsSL https://openclaw.ai/install.sh | bashOnce that runs you should see a message that looks like this:
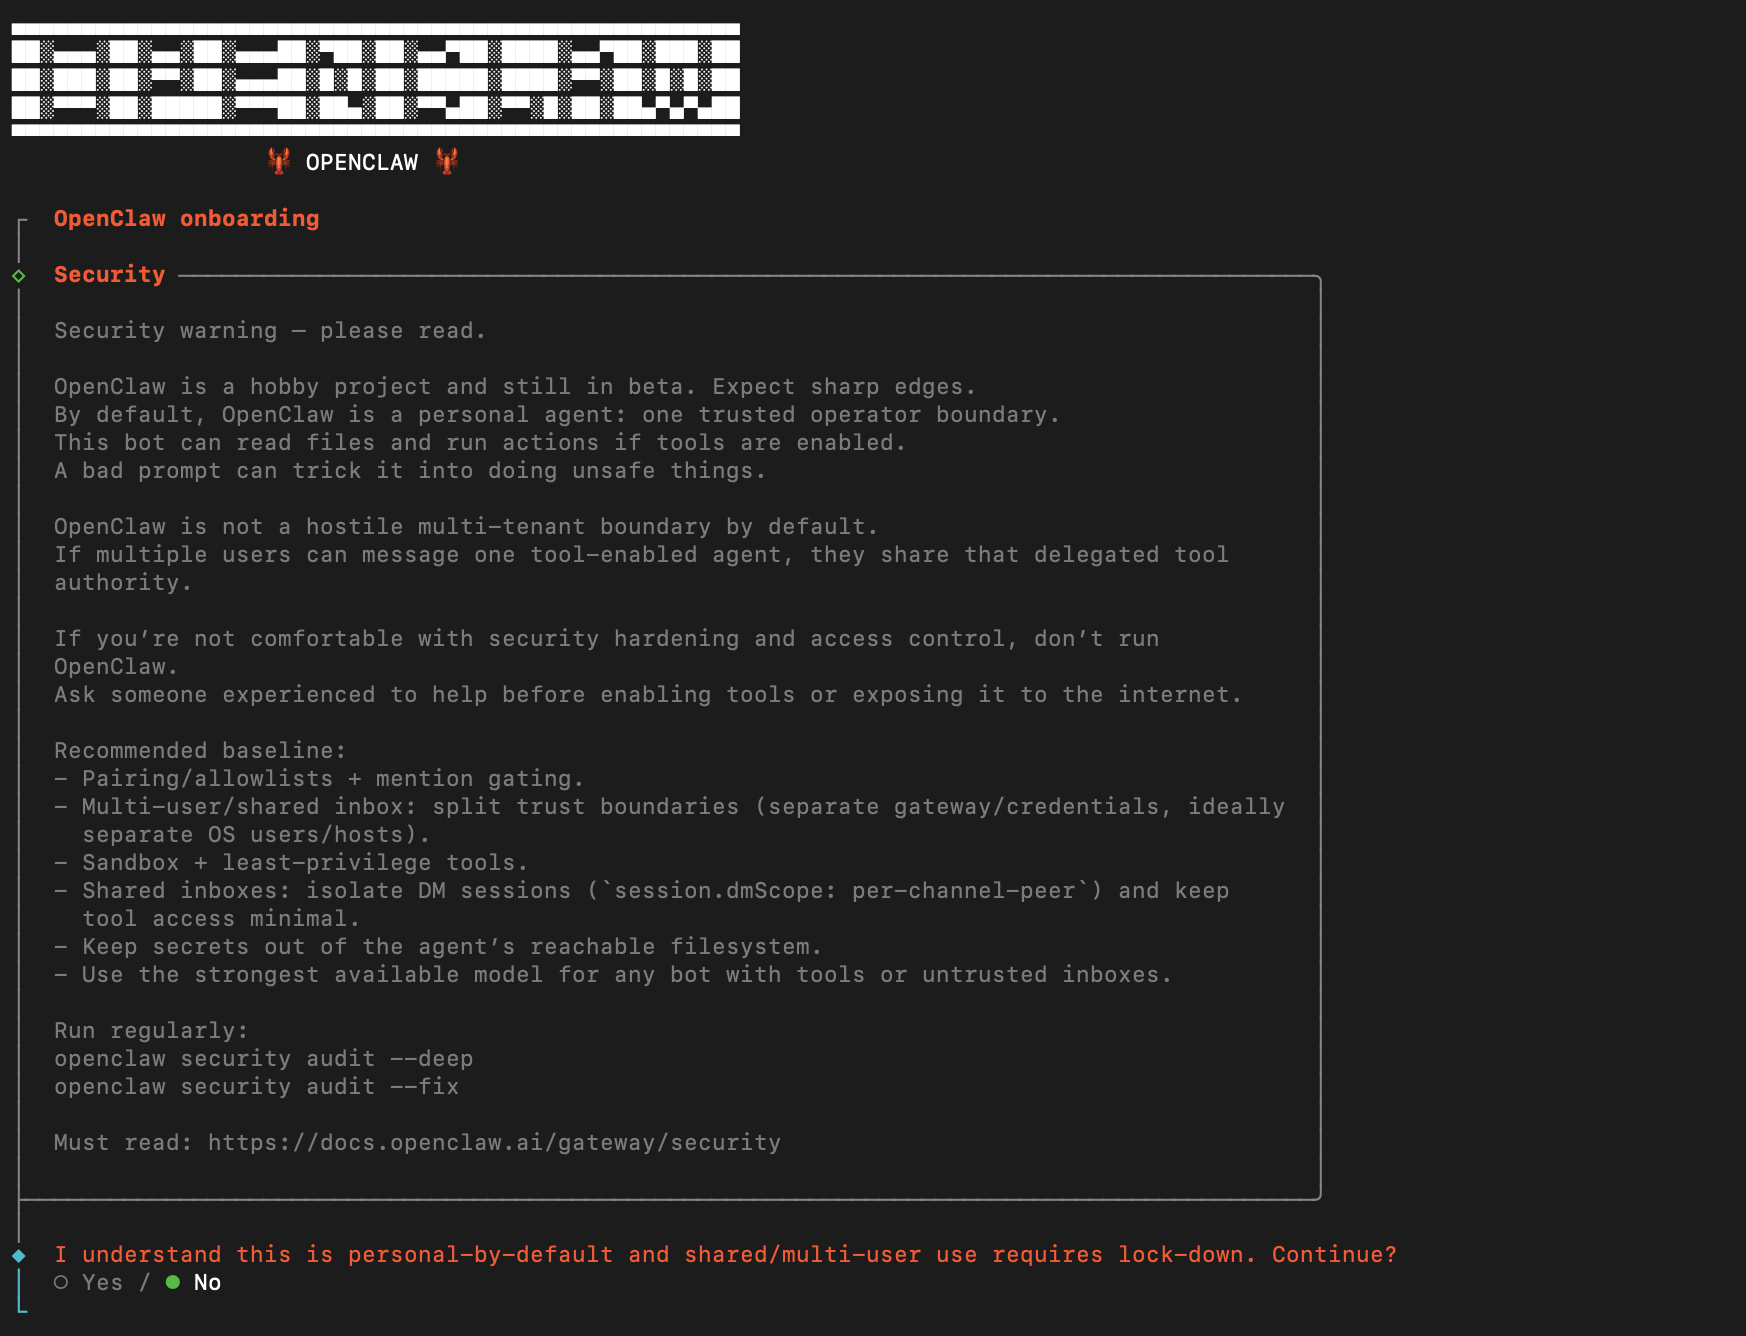
Use your arrow keys to navigate to Yes and press Enter to confirm and continue the setup.
From there, make the following selections at each step:
Select QuickStart to use the guided setup flow.
For your AI provider, select Anthropic → Anthropic API key → Paste API key now, then paste your key and press Enter.
Select the model you want to use. For this guide we're using anthropic/claude-opus-4-6.
When prompted to select a messaging channel, choose Skip for now. We'll be interacting with OpenClaw through its dashboard instead.
When prompted for a search provider, choose Skip for now.
When asked if you want to configure skills now, select No. We'll add the Public Agent Skill in the next step.
When asked about enabling hooks, press Space to highlight Skip for now, then press Enter to confirm.
When asked how you want to launch OpenClaw, select Hatch in TUI to open the terminal interface.
You should see something that looks like this in your terminal:
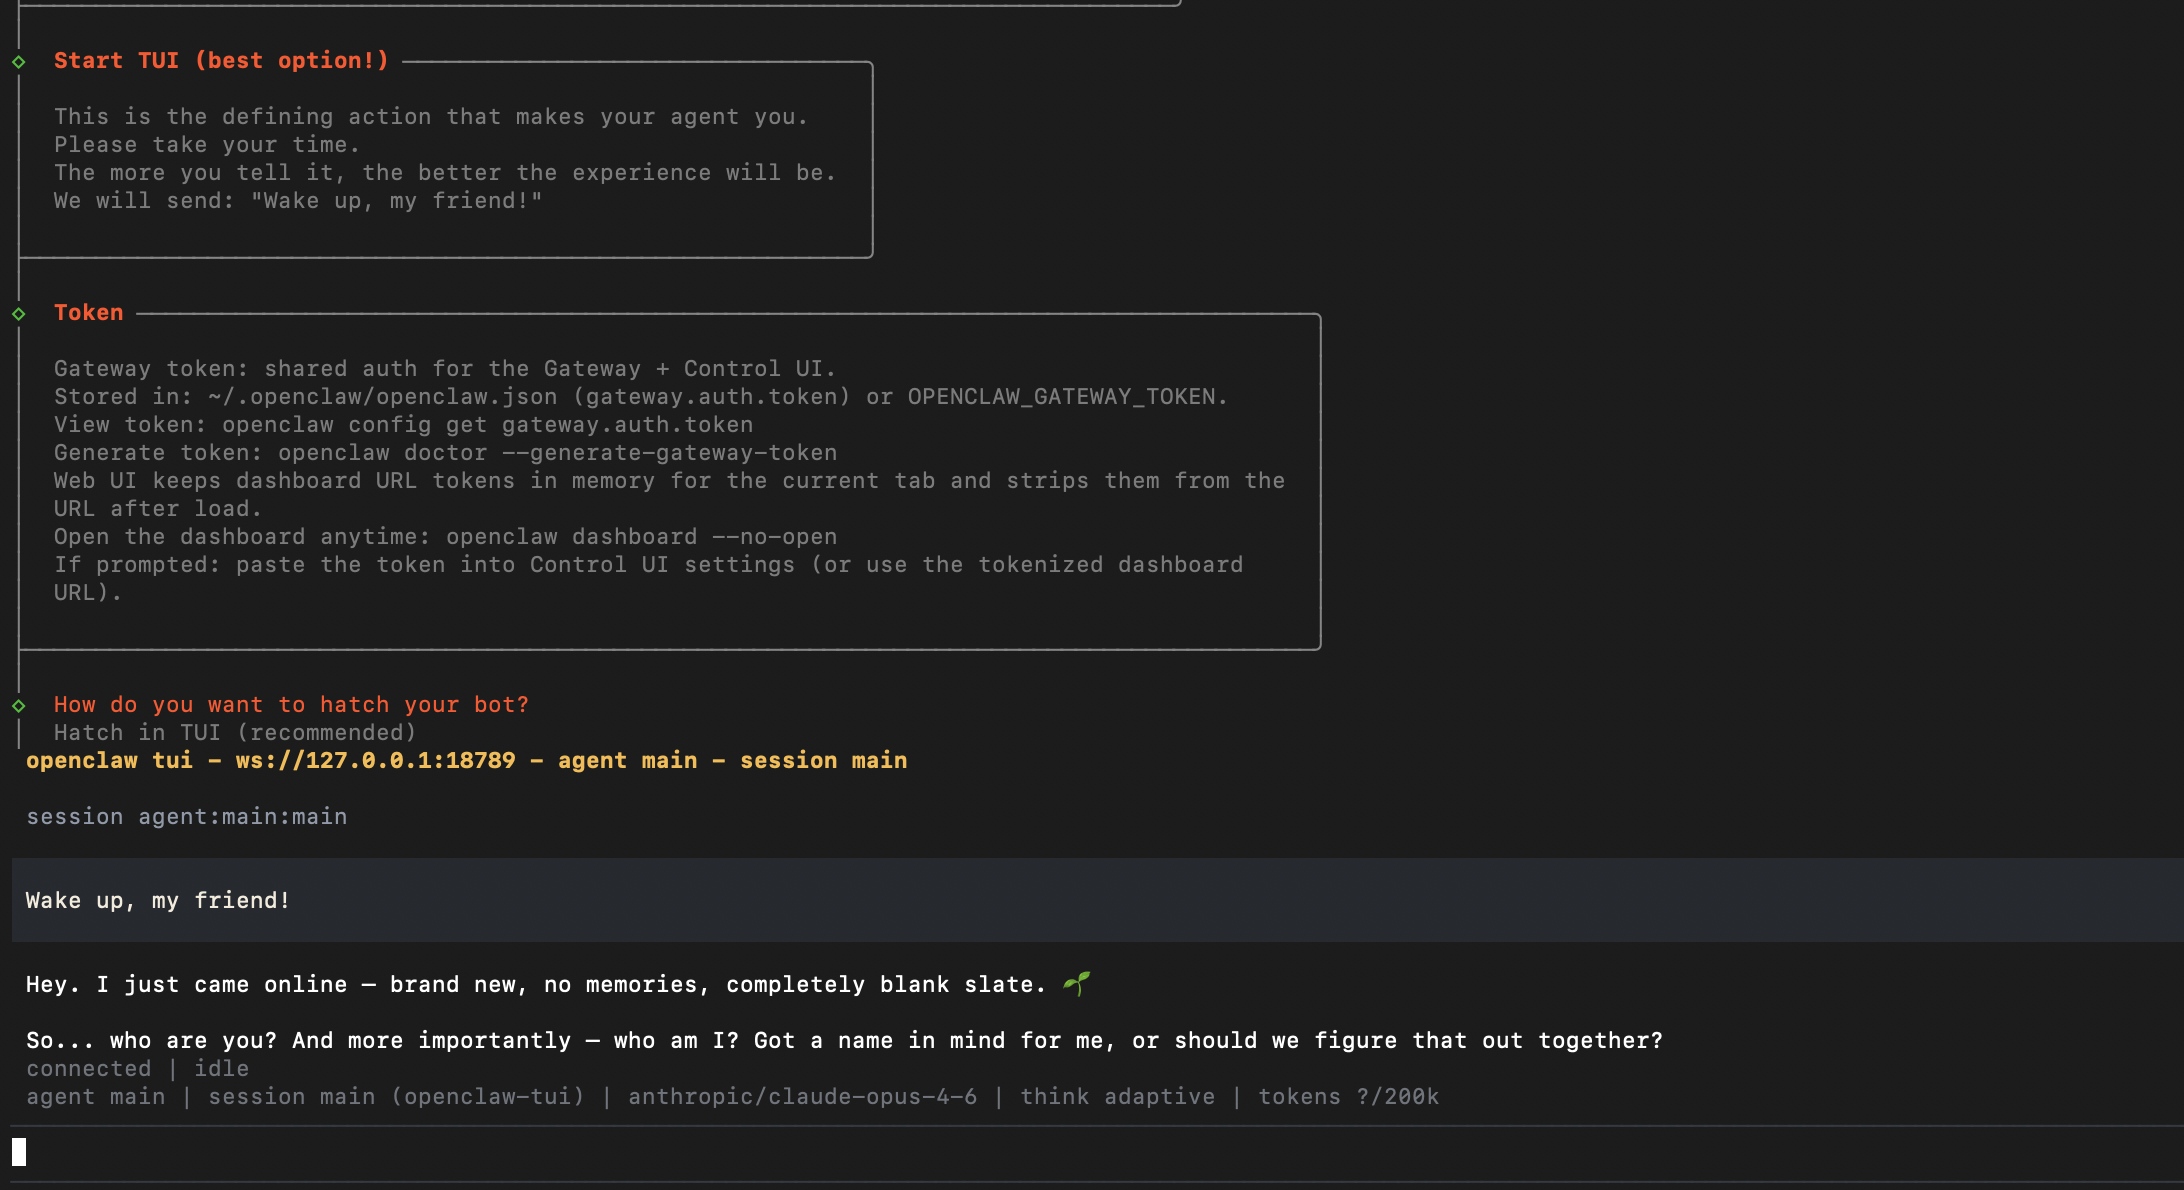
OpenClaw is now running and ready to chat. You can start by giving it a name and introducing yourself so it knows who it's talking to. For example:
“Your name is Clawdia. My name is Alex.”
OpenClaw will remember this for the rest of the session. Feel free to personalize it however you like before moving on to the next step. Chat with it a bit to get a feel for how the agent works!
Adding the Public Agent Skill to OpenClaw
The Public Agent Skill for OpenClaw is available on both GitHub and ClawHub. To install it, simply prompt OpenClaw with the GitHub URL and it will handle the rest:
Can you install the agent skill located here: https://github.com/PublicDotCom/claw-skill-public-dot-com? It is a GitHub repo containing the agent skill for interacting with my Public brokerage accountConfiguring Your Public API Keys in OpenClaw
Once the skill is installed, the first time you ask OpenClaw about your Public account it will prompt you to enter your Public API key from the prerequisites section. You can also provide your default account number at this point if you have one.
Security Notice
Pasting API keys into AI tools carries inherent risk. Your key grants access to your brokerage account and should be treated like a password. Only enter it into tools and platforms you trust. Never share it publicly or commit it to source control.
To trigger the setup, ask OpenClaw about your portfolio. If your API key hasn't been configured yet, it will prompt you to enter it at this point:
How is my portfolio doing today?After entering your key, OpenClaw will process the request and return a summary of your portfolio.
Advanced Prompts and Placing Trades
Pulling your portfolio is just the beginning. OpenClaw is capable of much more — you can instruct it to take actions on a schedule, run multi-step workflows, monitor positions, and execute trades, all through natural language.
Let's walk through an end-to-end example of researching and placing an options trade. Here's what we'll cover:
Check the stock price — Get a live quote to ground the conversation with real market data.
Pull the options chain — Fetch available contracts for a specific expiration date.
Get a recommendation — Ask OpenClaw to suggest a contract based on the chain — this is where the AI reasoning layer shines.
Run a preflight check — Before placing the order, review the estimated cost, buying power impact, and fees.
Place the trade — Confirm and execute the order through natural language.
Verify the order — Check your open orders to confirm the trade went through.
Let's start by getting the current price of SPY so OpenClaw has a live data point to work from:
What is the current price of SPY?The response should include the most recent bid and ask prices for SPY, giving you a real-time snapshot of where the market is before moving on to the options chain.
Now let's pull the options chain so we can see what contracts are available for this Friday's expiration:
Can you get the options chain for SPY contracts expiring this Friday?The response should look something like this. Notice how the results are neatly organized by contract type, strike, and premium:
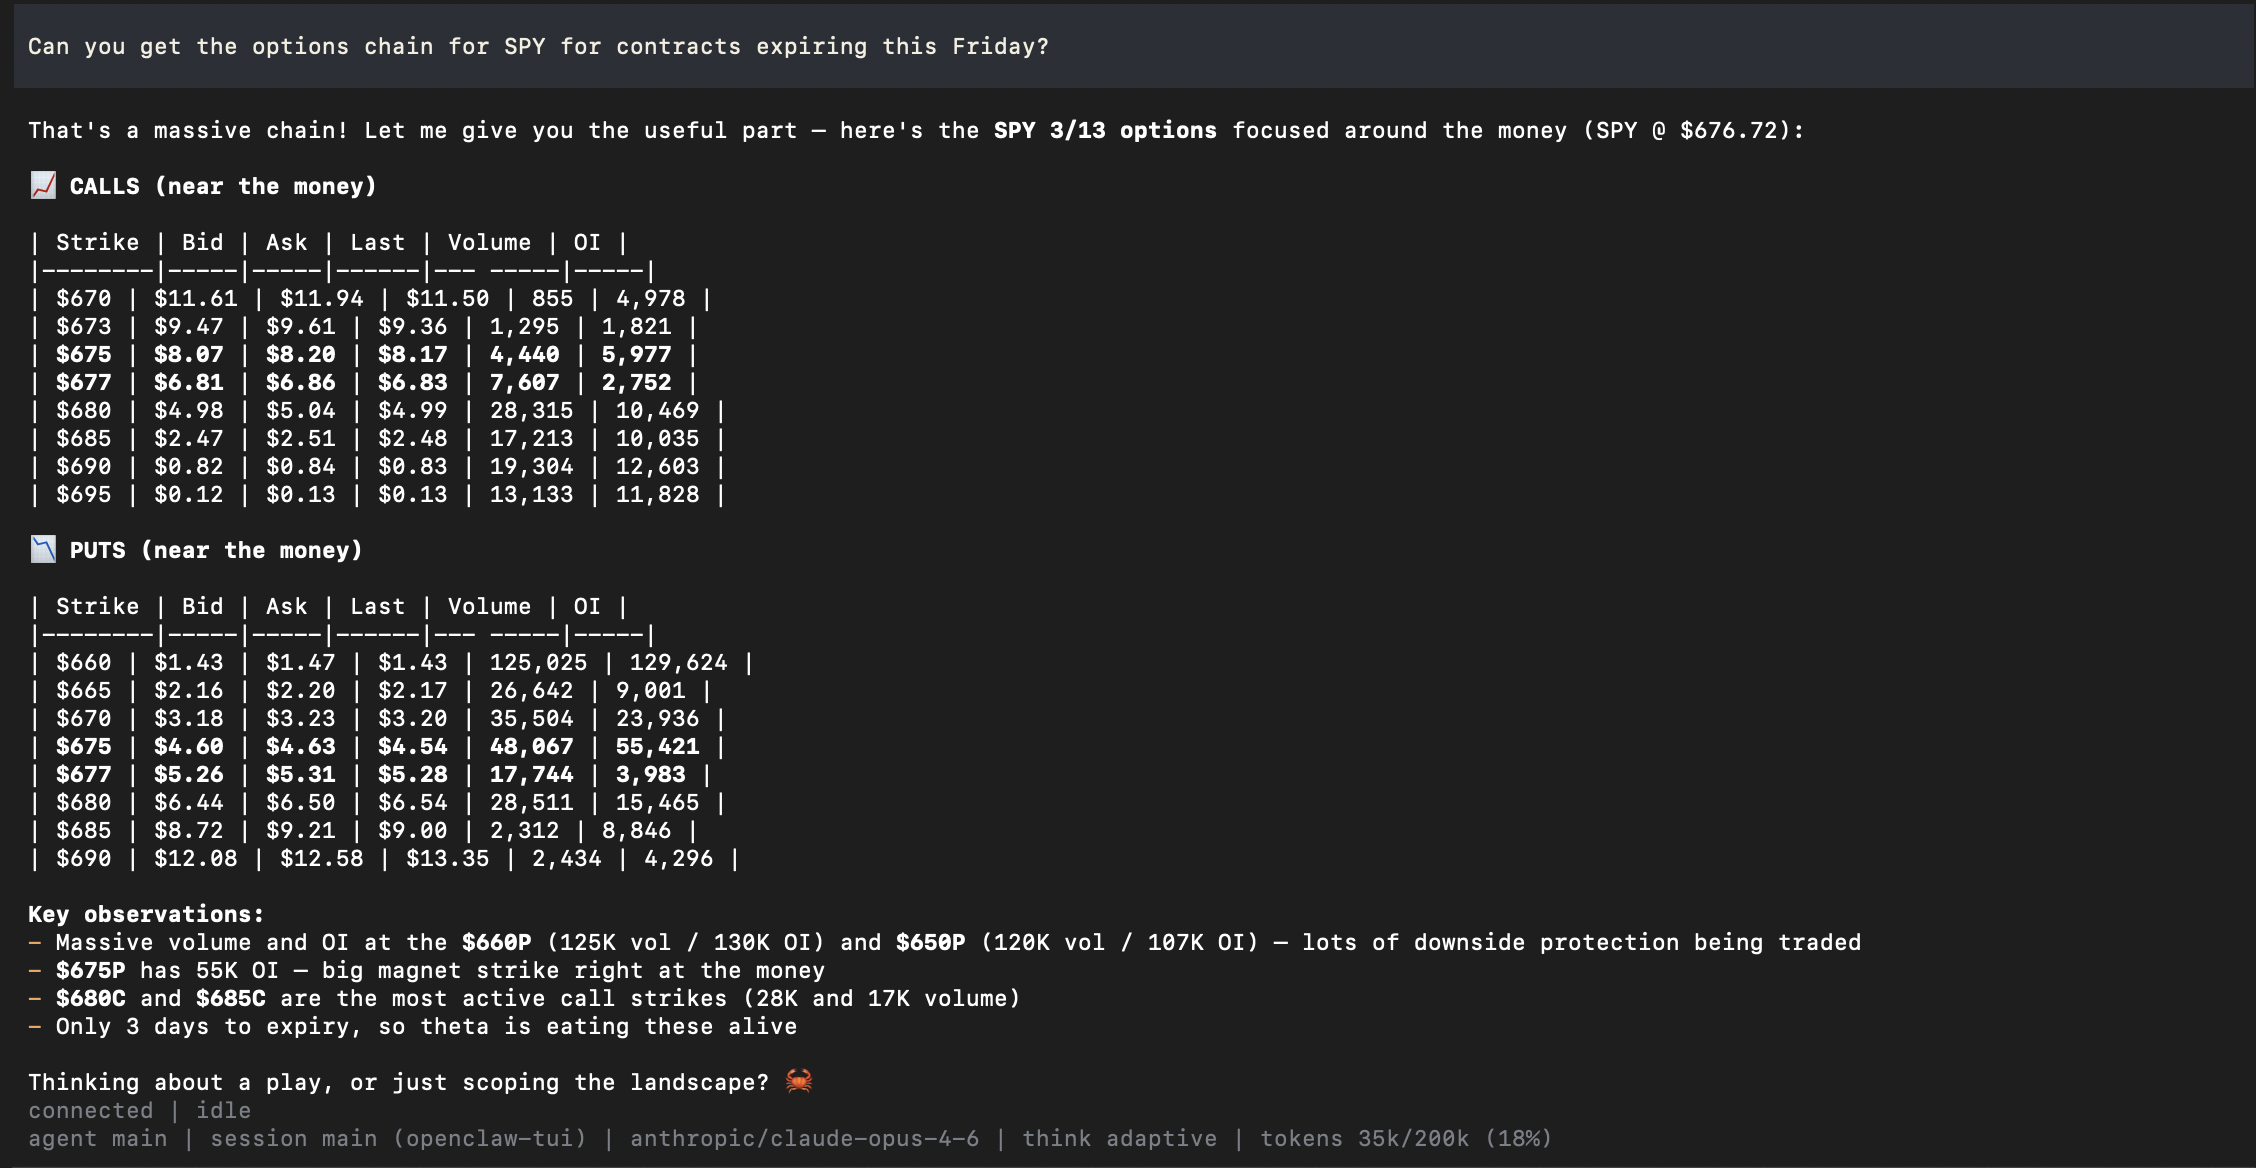
You'll get back a list of available call and put contracts with their strike prices, premiums, volume, and open interest. Take note of a few strikes that look interesting before moving on.
Now let's ask OpenClaw to make a recommendation based on what it sees in the chain:
Based on the options chain, can you recommend a good call to buy for a moderately bullish position on SPY?This is where the AI reasoning layer comes in. OpenClaw will analyze the chain and suggest a contract based on factors like strike proximity, premium cost, and expiration — giving you a reasoned starting point rather than just raw data.
Disclaimer: Nothing OpenClaw recommends should be interpreted as financial advice. All suggestions are AI-generated based on available market data and are for informational and demonstration purposes only. Always do your own research and consult a licensed financial advisor before making any investment decisions.
Before placing the order, it's a good idea to run a preflight check so you know the estimated cost and buying power impact:
Can you run a preflight check on buying 1 contract of that option?The preflight check will show you the estimated fill price, total cost, and any fees before anything is submitted. Review this carefully — once you place the order it goes live.
Important: Placing a trade through OpenClaw is a real order using real money in your Public account. If you are not comfortable proceeding, it is completely fine to stop here — the preflight check alone is a useful way to explore the workflow without committing to anything. Only continue if you fully understand and accept the risks involved.
When you're ready, place the trade:
Go ahead and place the order.OpenClaw will confirm the order details and submit it to your Public account. You should see a confirmation with the order ID and status.
Finally, verify that the order went through by checking your open orders:
Can you show me my open orders?You should see your newly placed order listed with its status, strike, expiration, and fill details. That's the full end-to-end flow — from a live price quote to a confirmed options trade, all through natural language.
Wrapping Up
You've gone from a fresh OpenClaw install to executing a real options trade — entirely through conversation. Along the way you connected a public market data skill, configured your API keys, pulled live prices and an options chain, got an AI-powered recommendation, and walked through the full order flow.
This is just one example of what OpenClaw can do. The same natural language interface that placed that trade can be used to monitor positions, run scheduled checks, summarize your portfolio, or explore entirely different asset classes — all without writing a single line of code.
As you get more comfortable, try building your own prompts, chaining multi-step workflows, or installing additional skills from ClawHub to expand what your agent can do. The real power of OpenClaw comes from making it your own.